How to add a background to your text in Squarespace 7.1

Adding a coloured background to a text block is a great way to break up the space on your web page or highlight an important section. Until recently, you couldn’t do it in Squarespace without using code, but now it’s easy to do in Squarespace 7.1.
There are 2 code-free methods to add backgrounds using the new Fluid Engine editor and one method to create a background on blogs or sections that use the Classic Editor.
How do I know if I’m using Fluid Engine or the Classic Editor?
This is probably the first question that you have, right? It’s an important thing to know. The answer could be that your website uses fluid engine, the classic editor only or a combination of both. Currently, all blogs still use the classic editor.
To figure out which editor you are using:
Click on the Edit button on the page
Hover over the section where you want to add the background
You are using the Fluid Engine:
If you see +Add Block in the top left hand corner of your section
You are using the Classic Editor:
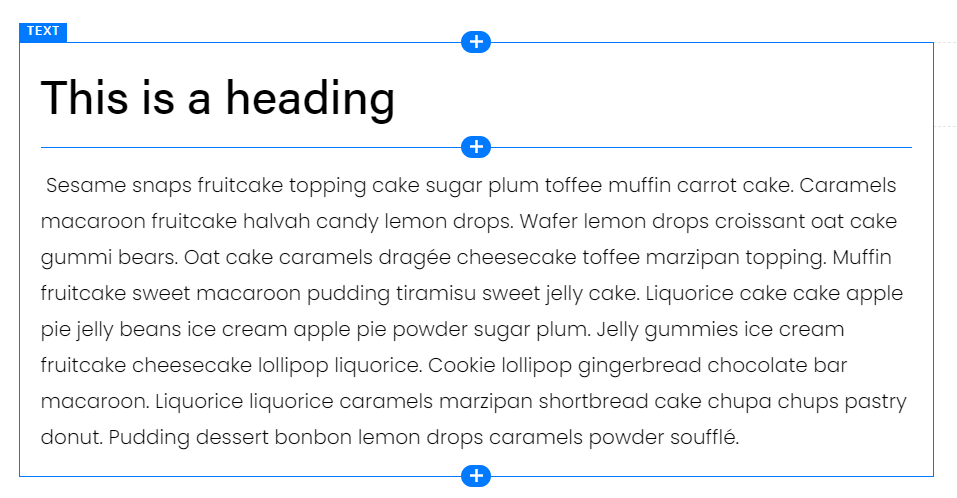
If you add a new block by hovering over the content and clicking the plus symbol (+) where you want to add a new block
Add a coloured background to text in Fluid Engine sections
There are two ways to add a coloured background to your text using the Fluid Engine Editor. The easiest way is simply to add a background to your text block using the text editing bar.
Option 1 – Add a Background to your Text Block
Click on the text block that needs a background
Click on the pencil icon to get the text editing bar (if you’ve clicked into the text block you may get the bar without having to do this step)
Click on the paint bucket icon
Choose the amount of padding you want on the block (default is medium)
Click the Save button

Text editor bar. Paint bucket or Block background circled in green.
The colour for the text background depends entirely on the colour you’ve selected for the section (ex: Lightest 1). You can edit the background colour in your Site Styles.
Design > Site Styles > Colors > (Choose Section Colour) > Background Color
Option 2 – Use a Shape Block
Because the Fluid Engine editor allows us to layer blocks on top of each other, we can also use the Shape Block to add a coloured background to the text. This method can be a little bit more work than just changing the text background, but it’s also much more versatile.
With the shape block you can choose any colour for your background. You can add different background colours to text blocks in the same section. There are a variety of shapes available, like circles or stars, so you can really add some interest to your page and make your text pop. You even have the option of adding a drop shadow to the block.
I’ve also used shape blocks to add a background where one side of the padding on my text block is larger than the other. This has allowed me to create really interesting layered layouts using both images and text.
To use a Shape Block as a text background:
Hover over the section where you want to add the background
Click on the +Add Block button in the top left hand corner
Choose the Shape Block from the pop up box
Click the Pencil icon to choose the design options (shape, colour and drop shadow)
Drag the Shape Block to the desired location (over your text block)
Click on the Move Backwards icon (or click Shift & the down arrow on your keyboard) to move the Shape Block behind your text
Save
Add a coloured background to text in your Blog or Classic Editor Sections
You can use the text background option in the text editing bar on your Blog or in Classic Editor Sections, but it does work a little differently.
In Fluid Engine every block is completely separate from one another and you simply move each block where you want it to be in the grid. In the Classic Editor, it’s more like one big block made up of a bunch of smaller blocks. You move text blocks around by shifting them with things like images, spacers or lines.
For instance you can have a text block right above another text block in the Fluid Engine and they will remain separate. If you do the same in the Classic Editor they will become one block.
Classic Editor - 2 text blocks were added. They became one block.

Fluid Engine - The 2 blocks stay separated.
So, if you want to add a background to the entire text block in your section or blog you can use the editing bar in same way as you would with a Fluid Engine section. But, if you want only a part of the text, you’ll first need to separate it from the pack.
Add a coloured background to a selected part of your text:
Hover over the section or blog page where you want to add the background
Click on the plus symbol (+) just above the text section you want to highlight
Choose the Spacer from the pop up box
Repeat 2 + 3 just below the section you want to place the background
Now you are ready to add your background
Click into the text area that you’ve now separated (where you want the background)
Click on the paint bucket icon
Choose the amount of padding you want on the block (default is medium)
Click the Save button
It’s a little bit more effort to add a background in the Classic Editor, but it really makes a difference, especially on Blog pages which can be so text heavy. It helps break up those long passages of text and highlights important parts.
You’re now ready to add text backgrounds to your Squarespace website pages and blogs. I can’t wait to see what exciting things you create!

Don’t want to do it yourself? Let’s work together to make it easy!
I’ll take care of the design, coding and details, while you get back to business.