How to Link to Blog Categories in Squarespace

I’ve just finished reading your amazing blog post.
And now I’m wondering, do you have other posts on this topic? I probably won’t go through all your blog posts to check (especially if you have a lot of posts).
But, if you have a button, dropdown or link to your blog categories I’m checking out what else you have written on that topic.
Here’s how you can organize & link to blog categories to help keep visitors like me on your website.
This post contains affiliate links. When you click on an affiliate link and make a purchase, I receive a small commission at no cost to you. Affiliate links are marked with an asterisk (*).
How to Add Blog Categories to Your Squarespace Blog Posts
Before you can link to your categories, you need to set them up.
In the Blog Content Menu, hover over the blog post name in the menu
Click on the three dots that appear next to the post name •••
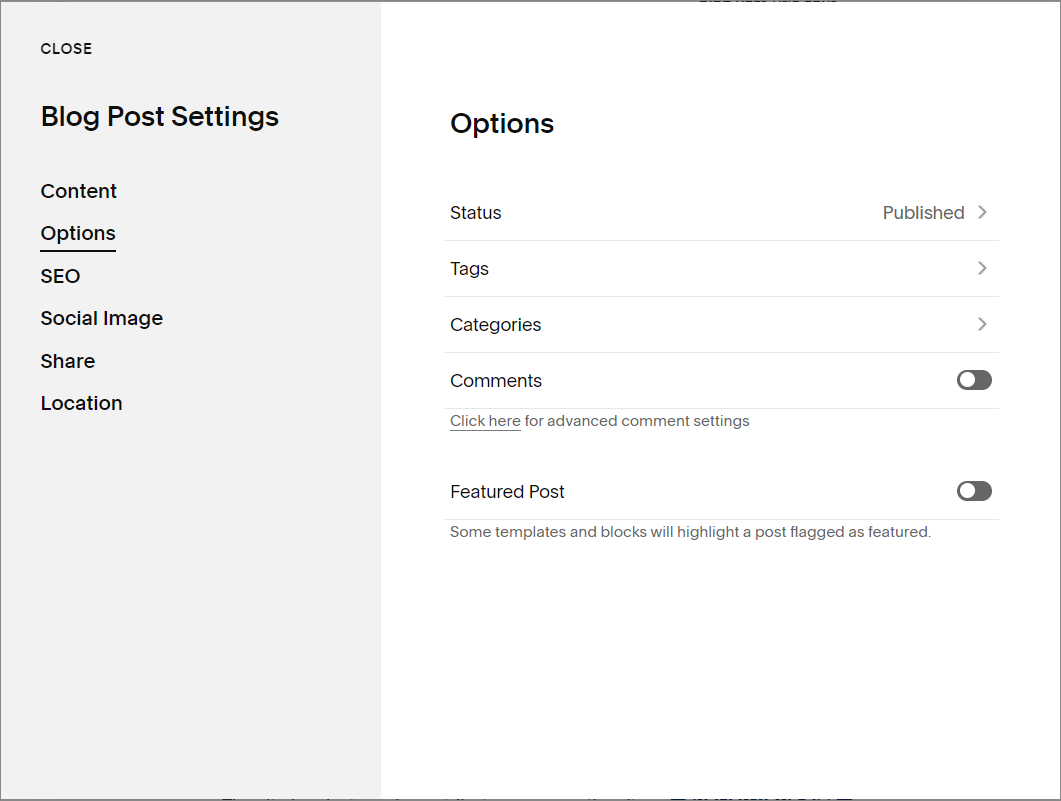
Click on Settings then choose Options from the menu
Click on Categories
Add your Category, then press ENTER
Click Save
Link to Categories in Your Blog
Currently on my main blog page I have text links to all my blog categories. You could also use buttons or a dropdown on this page to link to your categories. You could use a summary block to show related posts on your blog posts or throughout your website. Or, you could add a sidebar* on your blog post with the category links.
Create Text Links to Blog Categories
Type out your list of blog categories (be sure to add space and/or a symbol between)
Highlight the text and click the link symbol in the text editor.
In the URL list, scroll down to find the blog categories
Click Save
Your blog links will look like: /blog?category=category name.
*Squarepace Tip: Sometimes it can be difficult to scroll down to the blog categories in the list. You can try scrolling down your page a little so that your text is higher on the page. Or you can start typing /blog (or whatever your blog name) is to narrow down the choices in the list.
You can use this same method to link your categories to buttons or images. Click attach link and scroll down to find your category.
Tags can be used instead of categories.
Create a Dropdown Menu on Your Main Blog Page
Another way to help your visitors find your blog categories is to create a dropdown menu. We can do this easily with Squarespace’s archive block.

Click EDIT in the top left hand corner of your blog page
Scroll down to the section you want to place the dropdown and click + ADD BLOCK
Choose Archive from the Filters & List section
Click the pencil icon to access the Archive Editor
In the Content section choose your blog
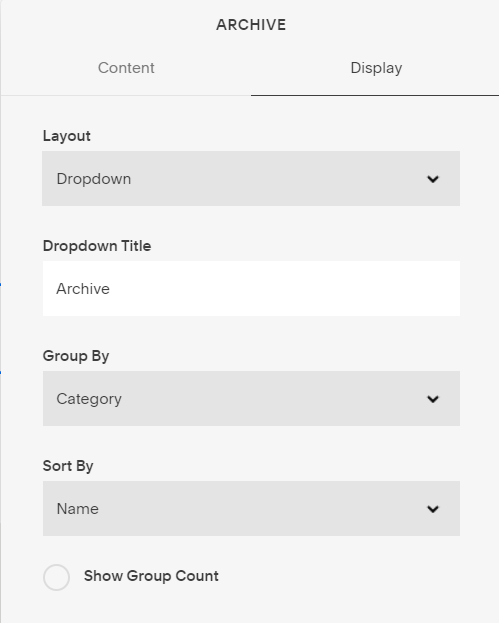
In the Display section choose Dropdown for your Layout, then choose Category under Group By
Change Dropdown Title to Categories or a name of your choice
Click the SAVE button
Use a Summary Block to Display Your Blog Categories

Instead of providing a link to your blog categories filter your posts by category, creating a related post block. You can do this with a summary block or by using a plugin.
Related post: 3 Easy Ways to Add Related Posts to Your Blog
Add Category Links to Your Header Navigation Menu
Some of my clients like to have their categories directly in the navigation menu. You can add just one important link in the menu or a dropdown of all your categories.
Link to One Category in the Navigation
From the Home Menu click Websites > Pages
Click the plus sign + next to Main Navigation
Scroll down the list and choose Link
Choose a blog category from the Link dropdown and add a Link Title
Click Save
Create a Dropdown Menu of Blog Links in Navigation
To link to all your blog categories in the main navigation you’ll need to add a folder or dropdown in the menu.
From the Home Menu click Websites > Pages
Click the plus sign + next to Main Navigation
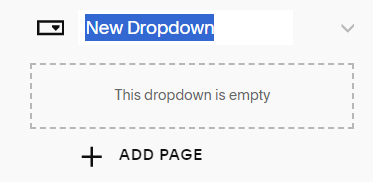
Scroll down the list and choose Dropdown
Replace New Dropdown in the white box with the name of your list
Under your dropdown name click + ADD PAGE
Choose Link
Choose a blog category from the Link dropdown and add a Link Title
Click Save
Repeat steps 5-8 until you have all the categories you want in the dropdown
Squarespace automatically creates your blog category pages for you. You just need to link to them and now you know how!